
About 7 years ago, I started studying herbal medicine at the Scottish school of Herbal Medicine. It was a 4 year BSc degree course, in everything from nutrition, botany, physiology, clinical training to massage. However I only completed 1 of 4 years, because the work load was too much in combination with raising my girls. I am still very passionate about it and I have every intention to continue at some point in the future.
The bit I miss the most is making lovely, heathy, healing things with plants. I realised I hadn't made anything for such a long time and seeing as I have so much calendula (marigold as it is commonly known) flowers in the garden, I decided it was high time I make some Calendula ointment.
Some facts about the healing properties of calendula: It contains vitamin A which is very good for skin healing, it has anti-inflammatory, anti fungal and anti bacterial effects making it a perfect plant for using on damaged skin tissue such as, laceration, sores, ulcers, abscess and dry chapped skin and lips.
For the infused oil;
100ml almond oil (or any odourless oil)
Hand full of dried Calendula flowers
| |
For the ointment;
25g yellow beeswax
5 drops of Lavender essential oil
|
 First of all, I made an infused oil using dried calendula flowers and almond oil. There are two ways to make an infused oil. The first way is to place the flowers in a clear jar and cover with oil and leave in the sun for a week or two. I usually refresh the flowers after a few days by straining the oil through a muslin and adding new flowers to make a more potent oil. The second way is done by placing the flowers and the oil in a bowl over a pot of boiling water and simmering for a few hours, without allowing the oil to boil. With this method I also refreshed the flowers after an hour or so.
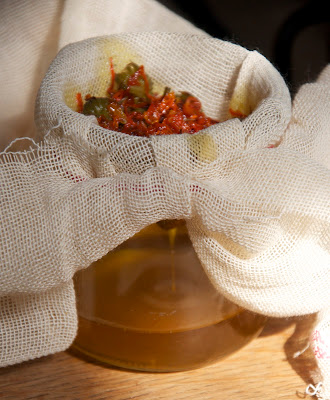

I have made this a few times now and sometimes they keep well and sometimes not. If the ointment is too soft, it is best to kept it in the fridge once opened. I am using one I made two years ago that is still good. My girls love putting it on when they have cut or scratched themselves, they call it magic Mama cream.
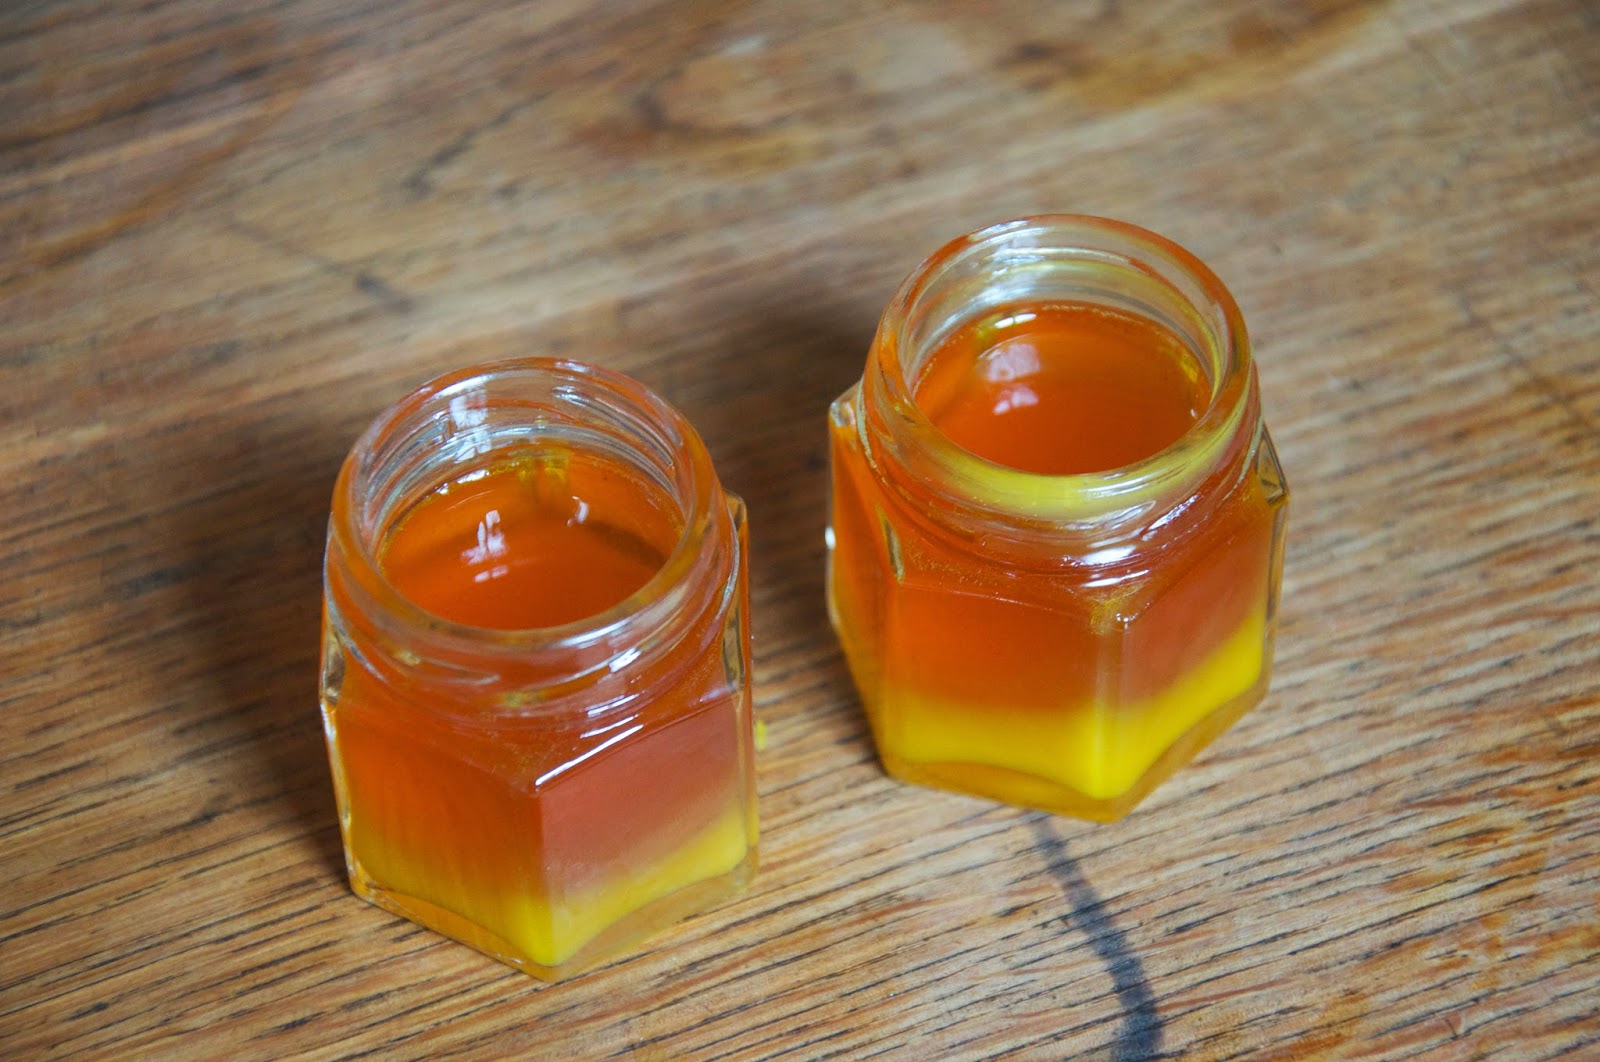
These little jars of sunshine can be really lovely presents, especially for Christmas.